
Category: Virtual Events
-
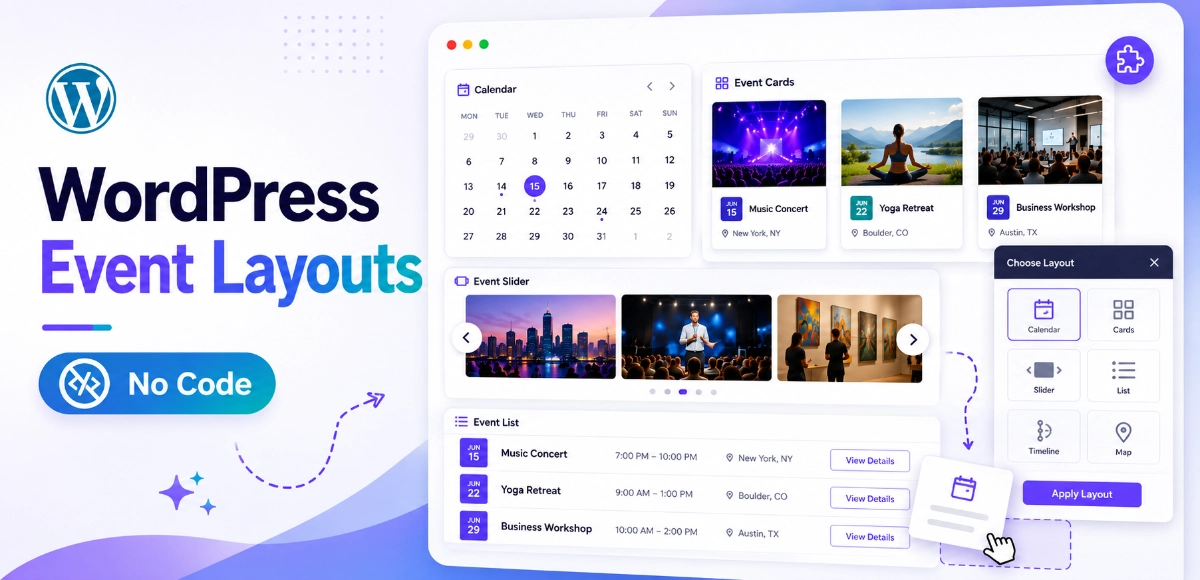
How to Display Events in WordPress Without Coding: Best Calendar Layouts & Plugins
You can display events in WordPress without coding. Creating events is…
-
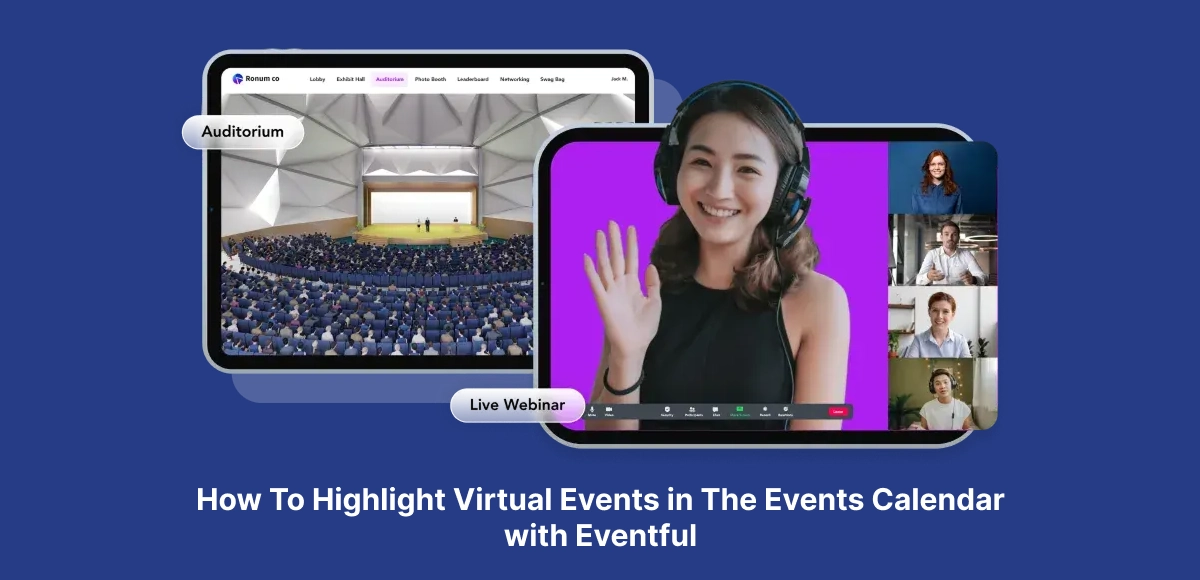
How to Highlight Virtual Events in The Events Calendar with Eventful
Introduction Virtual events are here to stay — from online conferences…