
Tag: Eventful plugin
-
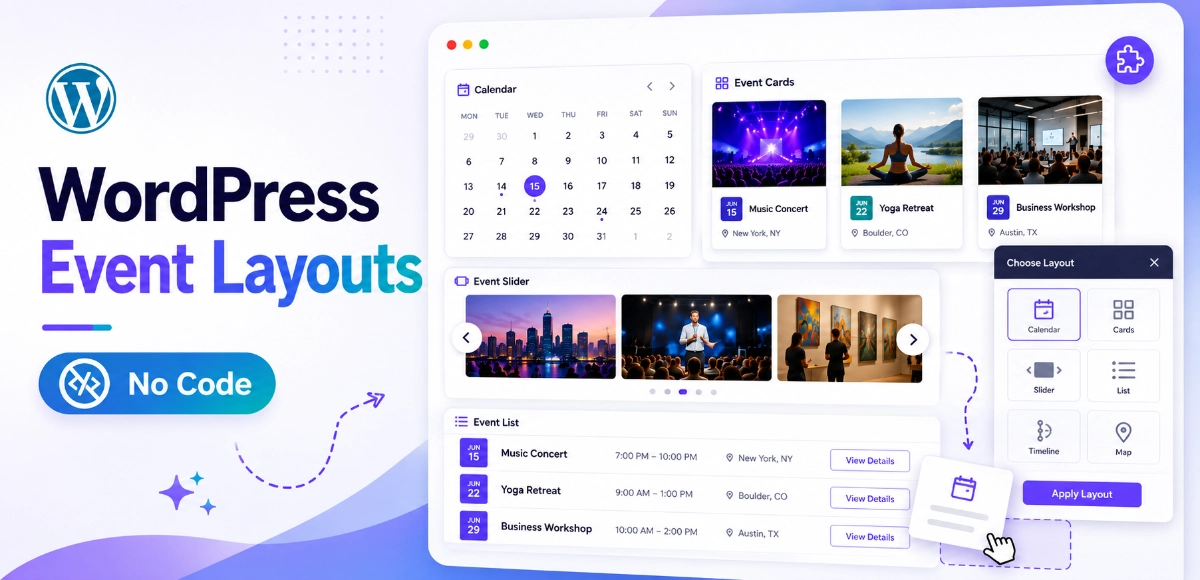
How to Display Events in WordPress Without Coding: Best Calendar Layouts & Plugins
You can display events in WordPress without coding. Creating events is…
-
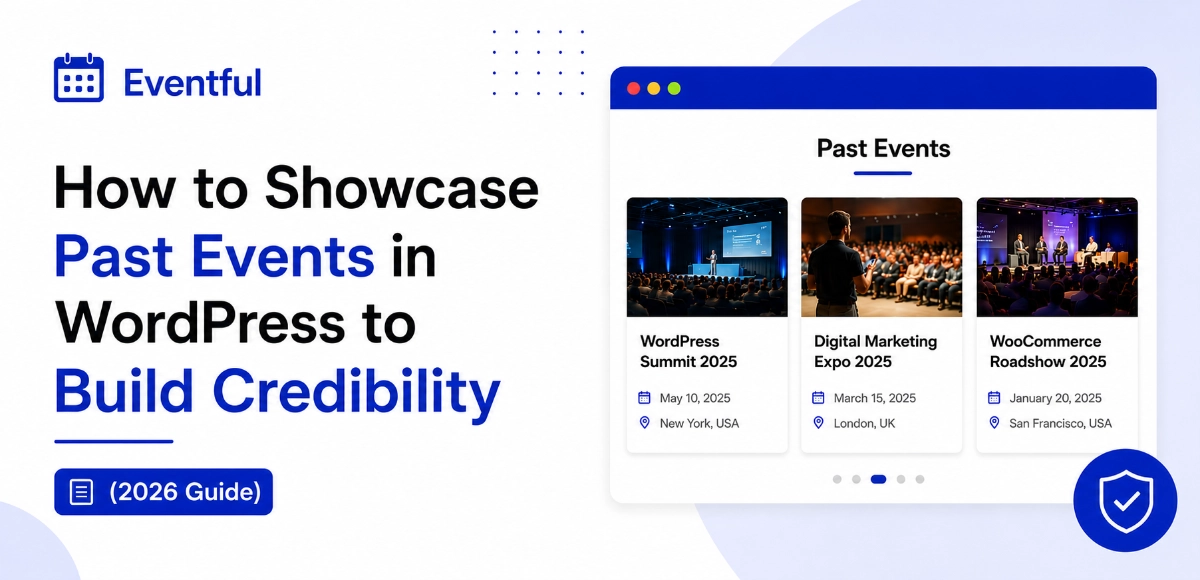
How to Showcase Past Events in WordPress to Build Credibility (2026 Guide)
Most event websites make a costly mistake: the moment an event…
-

How to Add Event Categories & Filters with Eventful Shortcodes
🎯 Introduction When visitors land on your events page, they shouldn’t…
-
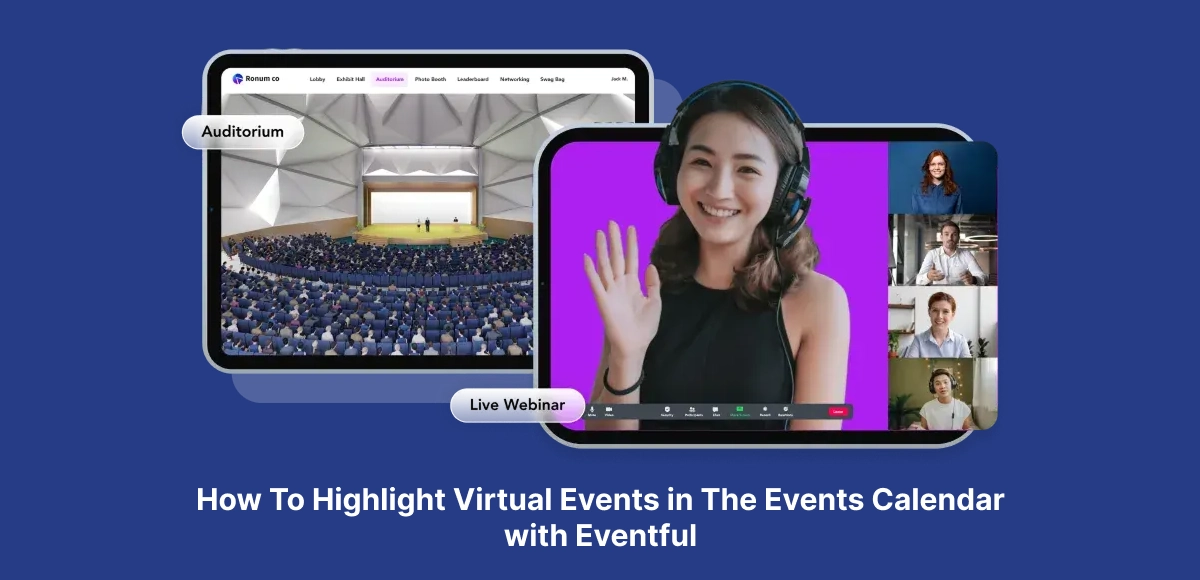
How to Highlight Virtual Events in The Events Calendar with Eventful
Introduction Virtual events are here to stay — from online conferences…
-
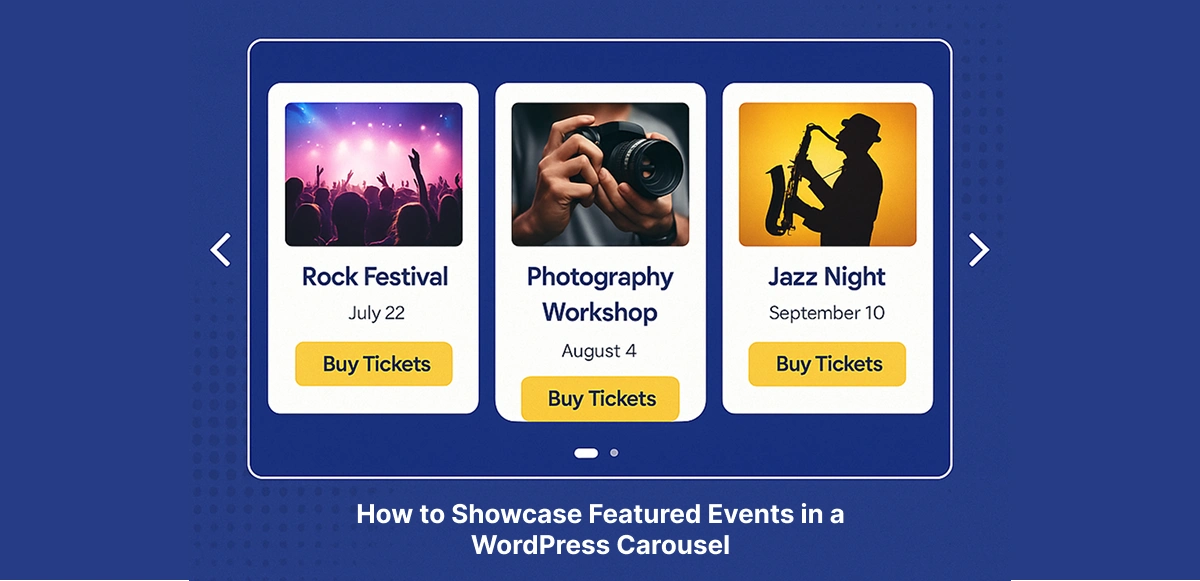
How to Showcase Featured Events in a WordPress Carousel
🎠 Introduction When it comes to event promotion, visual presentation matters…
-

How to Customize The Events Calendar Layouts with Eventful
🎯 Introduction When it comes to managing events in WordPress, The…
-
How to Combine WooCommerce & Eventful for Paid Events
🎯 Introduction Managing WooCommerce Eventful paid events is the smartest way…
-
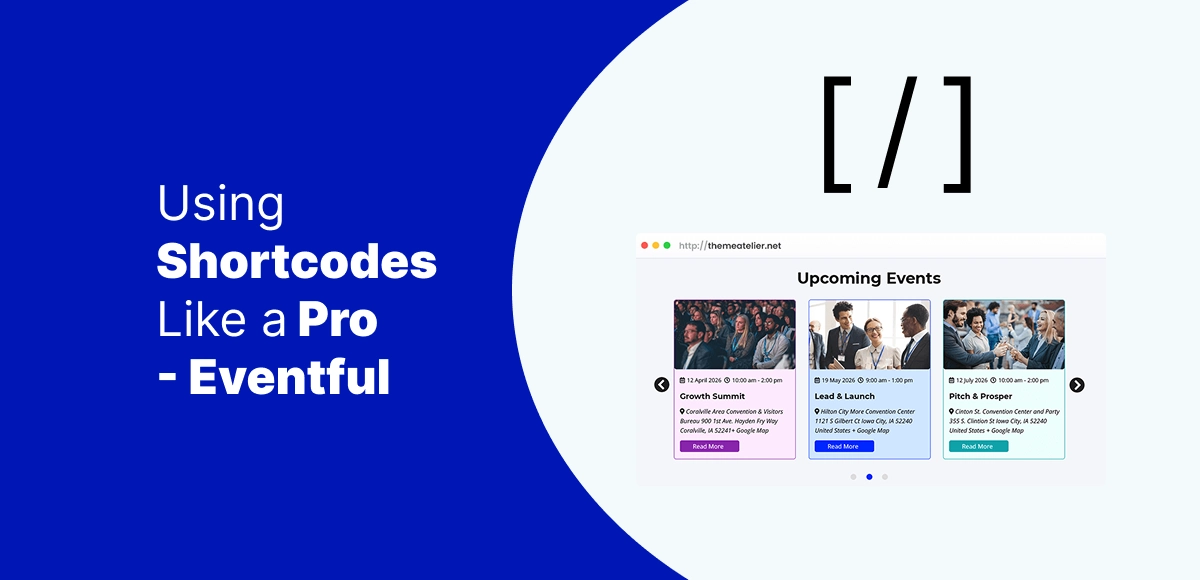
Using Shortcodes Like a Pro: Advanced Eventful Tips for WordPress
🎯 Introduction Shortcodes are one of WordPress’s hidden power tools. With…
-
Best WordPress Event Layouts for Conferences, Webinars, and Workshops
When it comes to promoting conferences, webinars, and workshops, presentation matters…